 Save
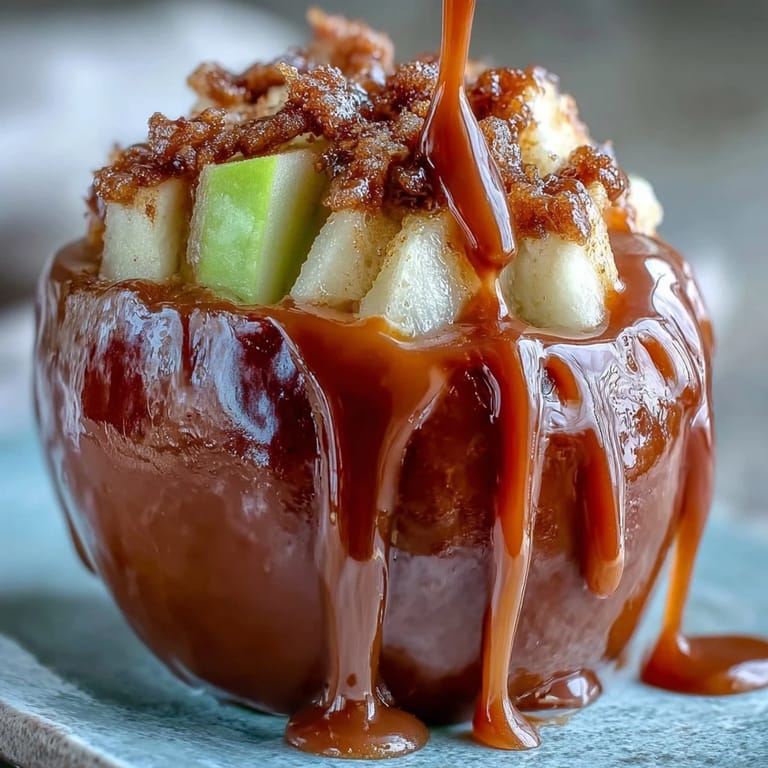
Save There's something about the smell of bubbling candy that pulls me right back to county fairs and autumn festivals, but my first attempt at making candy apples happened by accident in my own kitchen on a random Tuesday afternoon. I'd been craving that glossy red coating I remembered from childhood, so I decided to figure it out myself without a recipe, which resulted in a sticky disaster and a lesson in the importance of a candy thermometer. Years later, when I finally got it right—that perfect hard crack stage, the satisfying snap when you bite through the shell—I understood why these have stayed beloved for generations. There's pure magic in transforming something as simple as an apple into a jewel-like treat.
I made a batch for my nephew's school fundraiser bake sale, and watching a kid's face light up when he bit into one—that split second of surprise at the crunch—was worth every moment of careful temperature watching. His friend came back for a second one, which rarely happens at a bake sale when there are brownies and cupcakes competing for attention. That's when I realized these apples weren't just nostalgia; they're genuinely delicious and memorable in a way that feels personal.
Ingredients
- Granny Smith or Gala Apples: Granny Smiths are tarter and hold up better against the sweetness, but Galas are slightly more forgiving if you're new to this—the key is choosing small to medium ones that fit comfortably in your hand and dry them thoroughly so the candy actually adheres.
- Wooden Sticks: Craft sticks or popsicle sticks work equally well, and inserting them firmly into the stem end is crucial for safety when you're dipping into hot candy.
- Granulated Sugar: This is the foundation of your candy, and measuring it accurately matters more than you'd think for achieving that perfect hard crack stage.
- Light Corn Syrup: This prevents crystallization and creates that smooth, glossy finish you're after; don't skip it or substitute it.
- Water: The liquid that brings everything together, and it burns off as you cook, leaving behind pure candy magic.
- Red Gel or Liquid Food Coloring: Gel coloring gives deeper, more vibrant reds than liquid, and it won't thin out your candy the way some liquid versions might.
- Cream of Tartar: Optional but genuinely helpful for keeping your candy smooth and preventing graininess, something I learned after one too many batches turned sandy.
- White Chocolate: Choose quality white chocolate if you can; cheaper versions sometimes don't melt smoothly and can taste waxy.
- Coconut or Vegetable Oil: Just a touch makes the white chocolate more pourable for drizzling without compromising the flavor.
Tired of Takeout? 🥡
Get 10 meals you can make faster than delivery arrives. Seriously.
One email. No spam. Unsubscribe anytime.
Instructions
- Prepare Your Station:
- Line a baking sheet with parchment paper, grease it lightly so the apples don't stick, and firmly insert a wooden stick into the stem end of each apple—this is your safety grip when things get hot. Make sure your apples are completely dry; any moisture is the enemy of a good candy coating.
- Combine Your Candy Base:
- In a heavy-bottomed saucepan, gently stir together sugar, corn syrup, water, and cream of tartar if you're using it. You're just bringing everything together at this point, not cooking yet.
- Begin the Cook:
- Set the pan over medium heat and attach your candy thermometer to the side—this isn't optional if you want consistent results. Let it come to a boil without stirring once it hits the heat; stirring at this stage can cause crystallization.
- Add Color:
- When the mixture reaches 250°F (121°C), add your red food coloring and gently swirl the pan to distribute it, but resist the urge to stir. The color will blend in as you continue cooking.
- Reach Hard Crack Stage:
- Keep the heat steady and watch your thermometer carefully as you approach 300°F (149°C)—this is the hard crack stage where the candy will shatter when cooled. The moment it hits that temperature, remove it from heat immediately; overshooting even by a few degrees changes the texture.
- The Critical Dip:
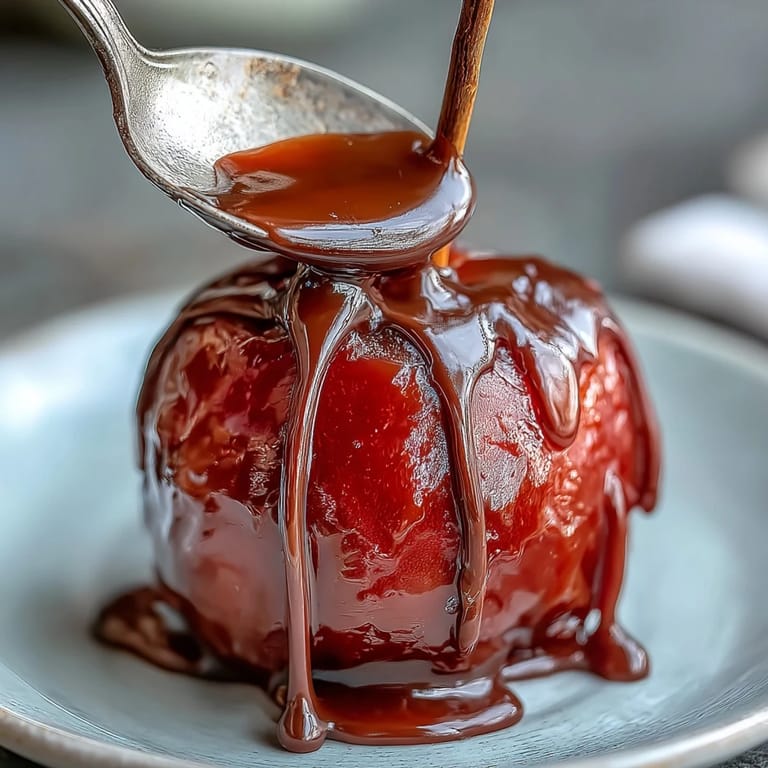
- Work quickly but carefully here—tilt the pan and dip each apple into the hot candy, turning to coat all sides evenly and letting excess drip back into the pan. Place each one on your prepared baking sheet and try not to move them until they've cooled completely, about 10 minutes.
- Prepare White Chocolate:
- Chop your white chocolate finely and melt it with a teaspoon of coconut oil in a microwave-safe bowl using 20-second bursts, stirring between each one. This gentler approach prevents seizing better than a double boiler in my experience.
- Drizzle with Elegance:
- Once the candy coating has set completely, use a spoon or piping bag to drizzle white chocolate over the apples in whatever pattern feels right to you. Let everything set for another 10 minutes before serving.
 Save
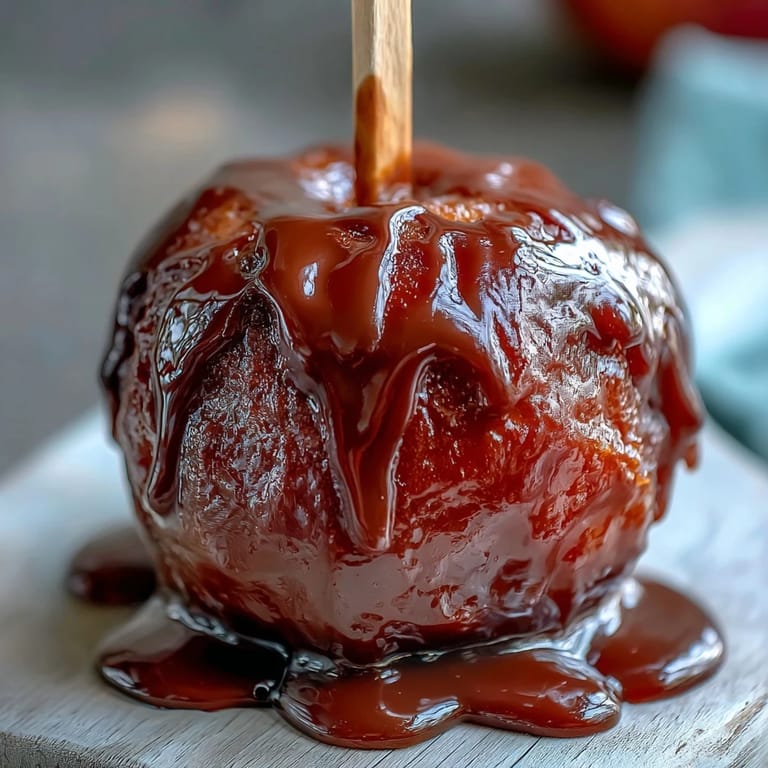
Save There's this quiet satisfaction that comes when you pull a finished candy apple off the parchment and the coating is perfectly glossy, catching light like a tiny ruby. It's one of those rare moments in cooking where the effort feels genuinely worth it the second you see the result.
Troubleshooting Common Issues
If your candy coating turns grainy instead of smooth, you likely stirred it after it started boiling—this breaks the sugar crystals apart and creates that sandy texture. The cream of tartar helps prevent this, but the real prevention is patience and a gentle hand once the cooking starts. If your coating is too soft and sticky after it cools, you didn't reach high enough temperature; next time, wait for that full hard crack stage at 300°F.
Creative Variations Worth Trying
The beauty of candy apples is how much room you have to play once you master the basics. I've rolled freshly dipped apples in chopped pistachios, crushed candy canes, and toasted coconut flakes before the coating set, and each version feels like a completely different dessert. You can also experiment with different food coloring—green apples with green coating are surprisingly striking, and purple creates this almost magical jewel-like effect.
Storage and Serving Tips
Candy apples are best eaten within a day or two of making them, though they'll stay fresh for up to five days if you keep them in an airtight container at room temperature. Don't refrigerate them because condensation will make the coating sticky and less satisfying to bite through. These are perfect for autumn gatherings, Halloween parties, or any moment when you want to bring a little carnival magic to the table.
- Stick them in a tall glass or jar to display them like you're running a gourmet carnival stand.
- Make them a few hours before serving so the coating has time to fully harden and set.
- If you're giving them as gifts, wrap each one individually in cellophane and tie with a ribbon for a presentation that feels genuinely special.
 Save
Save Making candy apples from scratch taught me that the most memorable desserts aren't always the most complicated ones—they're the ones that feel like a small event in themselves. Every time you bite into one of these, you're getting a moment of surprise and delight that feels genuinely earned.
Recipe FAQs
- → What type of apples work best for candy coating?
Firm, tart apples like Granny Smith or crisp Gala varieties provide the best balance of flavor and texture when coated.
- → How do I achieve a smooth, glossy candy shell?
Boil the sugar mixture to the hard crack stage (about 300°F/149°C) without stirring after boiling starts. This ensures a shiny, hard shell.
- → Can I add flavors or colors to the candy coating?
Yes, adding a few drops of food coloring and flavor extracts like cinnamon or vanilla can customize the coating while retaining the classic look.
- → How is the white chocolate drizzle prepared?
Melt white chocolate gently with a small amount of coconut or vegetable oil to create a smooth, pourable drizzle for finishing.
- → What is the best way to prevent the candy coating from cracking?
Make sure apples are completely dry before dipping and allow the coating to set on a lined, greased surface at room temperature to avoid cracks.
- → Can these be made vegan or dairy-free?
Use vegan white chocolate alternatives for the drizzle to accommodate dairy-free or vegan preferences.