 Save
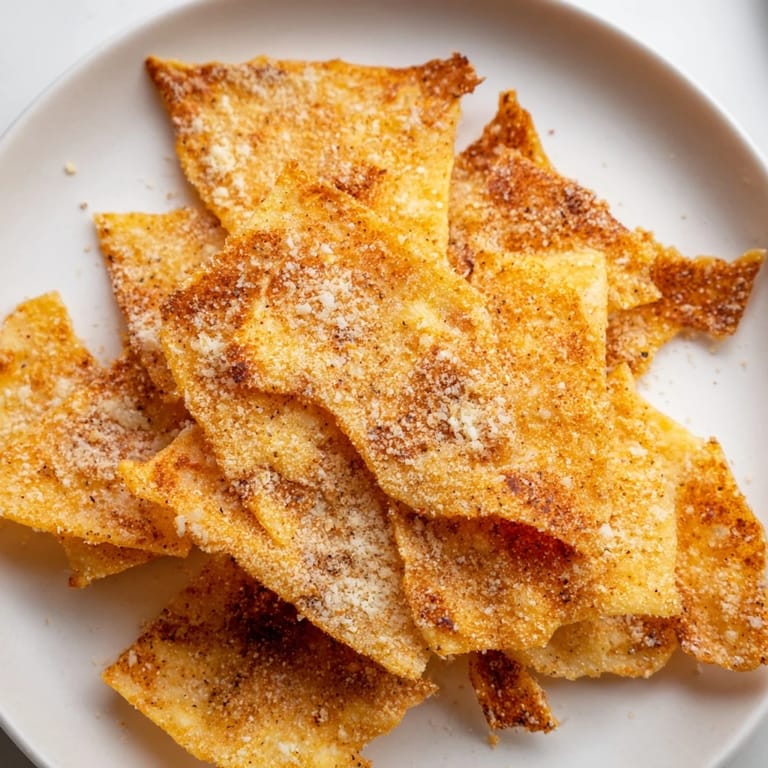
Save I was halfway through a bag of potato chips when I glanced at the nutrition label and sighed. That's when I spotted the tub of cottage cheese in my fridge and thought, why not? The idea sounded odd at first, but after a quick search and some hopeful experimentation, I pulled out a tray of golden, crunchy rounds that tasted like a guilty pleasure without the guilt. They were smoky, salty, and weirdly addictive. Now I keep cottage cheese stocked just for these.
The first batch I made disappeared in minutes during movie night. My friend kept asking what they were made of, convinced I'd bought some fancy health store snack. When I told her it was cottage cheese, she didn't believe me until I showed her the empty container. We ended up making a second batch right then, experimenting with chili powder and extra Parmesan.
Ingredients
- Cottage cheese: The star of the show, it crisps beautifully when baked thin and provides all that protein. Full fat works best for flavor, but low fat crisps up nicely too.
- Garlic powder: Adds a warm, savory base that makes these taste like something you'd find at a gastropub.
- Onion powder: Deepens the flavor without overpowering, blending perfectly with the garlic.
- Smoked paprika: This is what gives the chips that irresistible smoky edge and gorgeous color.
- Black pepper: A little heat and sharpness to balance the creaminess of the cheese.
- Sea salt: Essential for bringing out every other flavor and giving that classic salty chip taste.
- Parmesan cheese: Optional but highly recommended for an extra umami punch and crispier texture.
- Dried herbs: Oregano, thyme, or rosemary add an aromatic touch that makes each bite more interesting.
Tired of Takeout? 🥡
Get 10 meals you can make faster than delivery arrives. Seriously.
One email. No spam. Unsubscribe anytime.
Instructions
- Prep your oven and pan:
- Set your oven to 350°F and line a baking sheet with parchment or a silicone mat. This keeps the chips from sticking and makes cleanup a breeze.
- Drain the cottage cheese:
- Press the cheese gently in a fine mesh sieve or cheesecloth to remove excess liquid. Too much moisture means soggy chips, and nobody wants that.
- Blend the mixture:
- Add the drained cheese and all your seasonings to a food processor. Pulse until mostly smooth but still a bit textured, this gives the chips structure.
- Shape the chips:
- Scoop heaping teaspoons onto your prepared sheet, spacing them about an inch apart. Flatten each dollop into a thin round, about 2 inches wide, the thinner they are, the crispier they'll get.
- Bake until golden:
- Slide the tray into the oven and bake for 25 to 30 minutes, watching for golden brown edges. The smell will tell you when they're close.
- Cool completely:
- Let the chips cool right on the baking sheet. They'll firm up and get even crunchier as they sit.
 Save
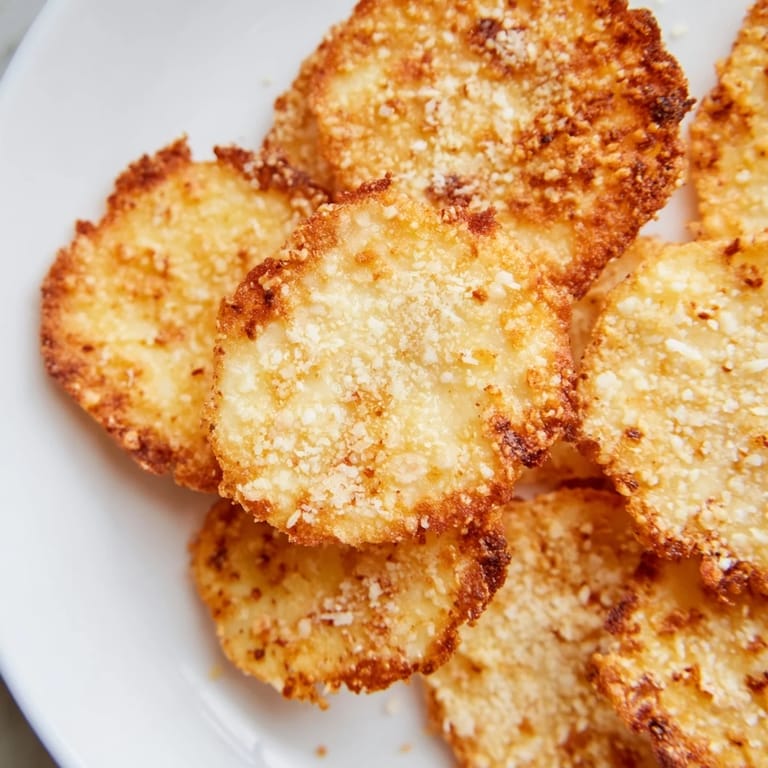
Save One Sunday afternoon, I made a triple batch and packed them into small jars for friends. They looked like something from a fancy deli, and everyone kept texting me asking for the recipe. It felt good to share something so simple that made people that happy. Now it's my go to gift for anyone trying to eat a little healthier without giving up snacks.
Flavor Variations to Try
Once you nail the basic recipe, the flavor possibilities open up. I've done a spicy version with cayenne and chili powder that nearly made my eyes water in the best way. A ranch style batch with dried dill, parsley, and extra onion powder became an instant hit at a potluck. You can even go sweet and savory with a pinch of cinnamon and a drizzle of honey after baking, though that's more experimental territory.
Storing and Reheating
These chips are best eaten fresh, but I've kept them in an airtight container for up to three days. They do lose some crunch over time, so I pop them back in a 300°F oven for about five minutes to crisp them up again. Just don't try to store them in the fridge, the moisture will ruin all your hard work. Room temperature in a sealed container is the way to go.
Serving Suggestions
I love these on their own, but they're also incredible with dips. Guacamole, salsa, and even a tangy Greek yogurt dip all pair beautifully. They also work as a crunchy topping for soups or salads, adding protein and texture in one go.
- Serve them alongside a cheese board for a high protein alternative to crackers.
- Pack them in lunchboxes for a snack that actually keeps you full.
- Crumble them over a Caesar salad instead of croutons for extra flavor and crunch.
 Save
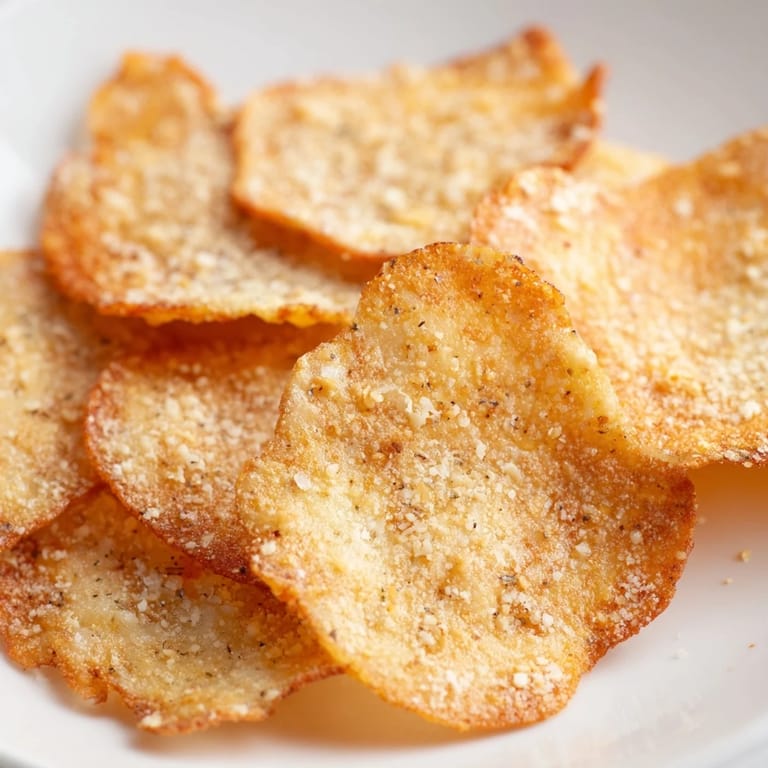
Save These little chips have become my secret weapon against mindless snacking. They satisfy the crunch craving, keep me full, and taste like I put in way more effort than I actually did.
Recipe FAQs
- → Why is draining the cottage cheese important?
Removing excess moisture ensures your chips become crispy rather than soggy. Use a fine mesh sieve or cheesecloth and press gently for the best texture.
- → Can I make these ahead of time?
Yes, store cooled chips in an airtight container for up to 3 days. Re-crisp them in a 300°F oven for 3-5 minutes before serving to restore their crunchiness.
- → What seasonings work best?
Garlic powder, paprika, and dried herbs like oregano or thyme create classic flavors. Try chili powder, cayenne, or Italian seasoning for variations. Parmesan cheese adds extra richness.
- → How do I prevent my chips from browning too quickly?
Ensure your oven is properly preheated to 350°F and space chips evenly on the baking sheet. If edges brown too fast, lower temperature to 325°F and extend baking time by 5 minutes.
- → Are these suitable for dietary restrictions?
Yes, these chips are naturally gluten-free, vegetarian, and high in protein. They contain dairy, so check labels if you have milk allergies. Always verify ingredient sources for allergen concerns.
- → What's the texture like compared to regular chips?
These chips have a delicate, crispy exterior with a slightly textured center. They're lighter and less oily than traditional fried chips while delivering satisfying crunch and savory flavor.