 Save
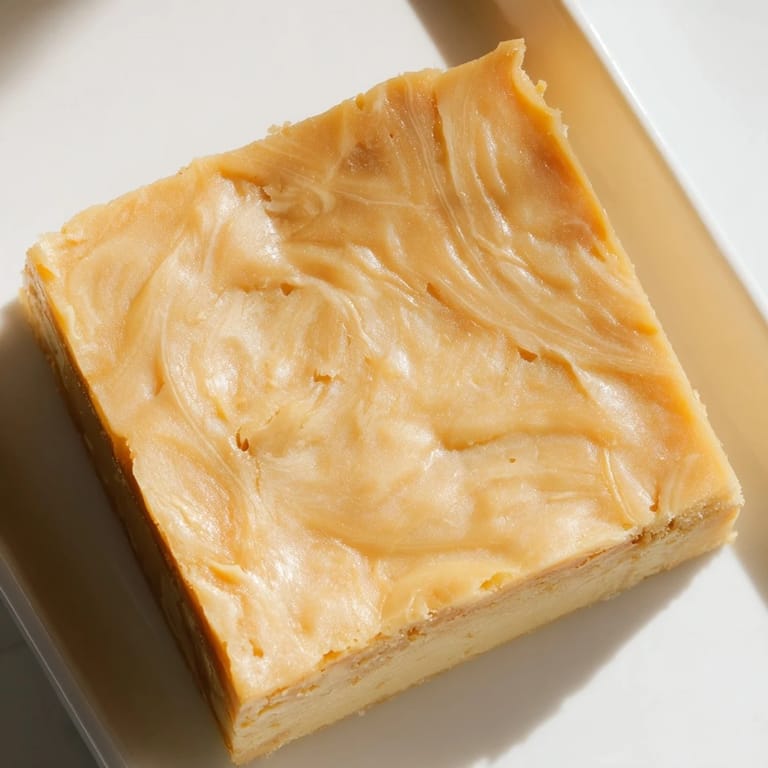
Save The first time I made mochi cake, I was standing in a Japanese grocery store, mesmerized by the bags of mochiko flour. My grandmother had mentioned it once in passing, but I'd never actually tried working with it. I grabbed a bag, drove home with no real plan, and decided to fold in peanut butter—a flavoring I couldn't shake from my mind. Three hours later, my kitchen smelled like toasted peanuts and something almost cloud-like, and I realized I'd accidentally created something that felt both familiar and entirely new.
I made this for my brother's birthday potluck last spring, not realizing half the guests were navigating dietary restrictions. When someone asked if it had gluten, I got to say no with actual confidence. Watching people relax around dessert, not reading labels or apologizing for what they could eat, felt like a small victory. That cake disappeared faster than anything else on the table.
Ingredients
- Sweet rice flour (mochiko): This is the secret to that signature chewy texture—don't substitute regular rice flour or you'll miss the whole point of what makes mochi cake special.
- Granulated sugar: Provides sweetness and helps create that delicate crumb structure as the flour hydrates during baking.
- Baking powder: Just a teaspoon ensures the cake rises gently without becoming too airy or cake-like.
- Salt: A quarter teaspoon cuts through the richness and lets the peanut butter flavor shine.
- Whole milk and coconut milk: Together they create a custard-like richness that keeps every bite moist and tender throughout.
- Eggs: Three large ones bind everything while adding structure and a subtle richness that coconut milk alone can't achieve.
- Creamy peanut butter: Half a cup of the good stuff—the kind with just peanuts and salt—makes this cake unmistakably peanut buttery without any artificial aftertaste.
- Unsalted butter: Melted and cooled slightly, it adds fat for moisture and helps the flavors bloom together seamlessly.
- Vanilla extract: A teaspoon rounds out the flavors and brings a subtle warmth that ties everything together.
Tired of Takeout? 🥡
Get 10 meals you can make faster than delivery arrives. Seriously.
One email. No spam. Unsubscribe anytime.
Instructions
- Set the stage:
- Preheat your oven to 350°F and prepare a 9x13-inch baking pan—either grease it well or line it with parchment paper so your cake slides out without sticking. A cold pan conducts heat unevenly, so let it sit at room temperature while your oven warms up.
- Combine the dry foundation:
- In a large bowl, whisk together the sweet rice flour, sugar, baking powder, and salt until everything is evenly distributed and there are no lumps hiding in the corners. You'll actually feel the mixture become finer as you whisk—that's how you know it's ready.
- Build the wet mixture:
- In a separate bowl, whisk the milk, coconut milk, eggs, peanut butter, melted butter, and vanilla until the peanut butter is completely incorporated and the mixture looks smooth and pourable. Don't rush this—those few extra seconds of whisking make all the difference in texture.
- Marry the two:
- Pour the wet ingredients into the dry and whisk gently but thoroughly until you have a smooth batter with no streaks of flour visible. The batter should look silky and fall from the whisk in ribbons rather than blobs.
- Prepare for the oven:
- Pour the batter into your prepared pan and give it a few gentle taps on the counter to release any large air pockets that might create tunnels in the cake. The surface should be relatively smooth and level.
- Bake until golden:
- Slide the pan into your preheated oven and bake for 45 to 50 minutes, watching for a golden-brown top and a toothpick inserted in the center that comes out clean with just a few moist crumbs clinging to it. The edges will pull back slightly from the pan when it's done.
- Cool with patience:
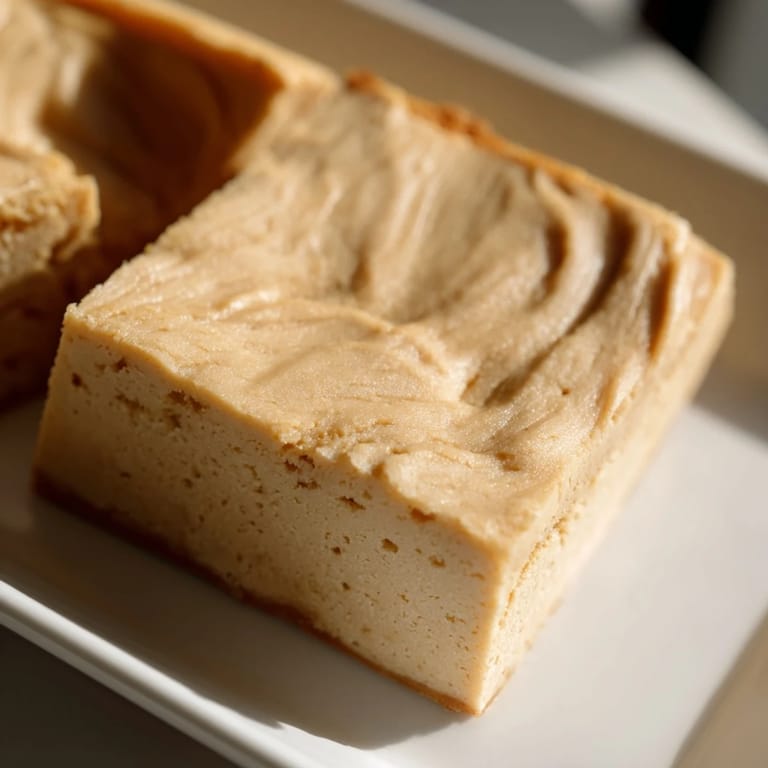
- Let the cake cool completely in the pan—this is crucial because mochi cake continues to set as it cools, and moving it too soon will make it fragile. Once it's completely cool, slice it into squares with a sharp, wet knife for clean edges.
- Serve and store:
- Enjoy the squares at room temperature or chilled, and keep leftovers in an airtight container in the refrigerator for up to five days. The texture actually improves slightly as the flavors settle.
 Save
Save There's a moment about ten minutes into cooling when the kitchen settles into this perfect quiet, and you can smell the peanut butter deepening as the cake sets. I always find myself standing there, hands wrapped around a cup of tea, knowing exactly what's coming in the next hour. That small pause between effort and reward might be my favorite part of baking this.
Texture and Flavor Magic
This cake sits in a beautiful middle ground—it's not a traditional sponge cake, not quite a brownie, and definitely not a custard, even though it has that custard-like moistness. The mochiko flour creates a fine, tender crumb that almost melts on your tongue, while the peanut butter adds a savory depth that balances the sweetness perfectly. The coconut milk whispers in the background, adding richness without overpowering the peanut butter, which is the real star here.
Variations Worth Trying
Once you've made this once and understand how it works, you can gently experiment. A sprinkle of roasted peanuts on top before baking adds a welcome crunch, though don't go overboard or they'll sink into the batter. Swapping the coconut milk for evaporated milk creates a lighter, less tropical version that leans even more heavily into the peanut butter flavor. Some people layer a thin peanut butter sauce between the batter and the top for extra richness, though I think that's gilding the lily.
Serving and Pairing
This cake is wonderful on its own, but a small dollop of whipped cream or a handful of fresh berries can brighten it up if you're feeding guests or want to feel fancy on a quiet Tuesday. Cold milk or coffee both pair beautifully with a square, and the cake actually tastes slightly better when it's been chilled for a few hours, as the flavors settle and deepen. The beauty of this dessert is that it doesn't need much—it already knows what it's doing.
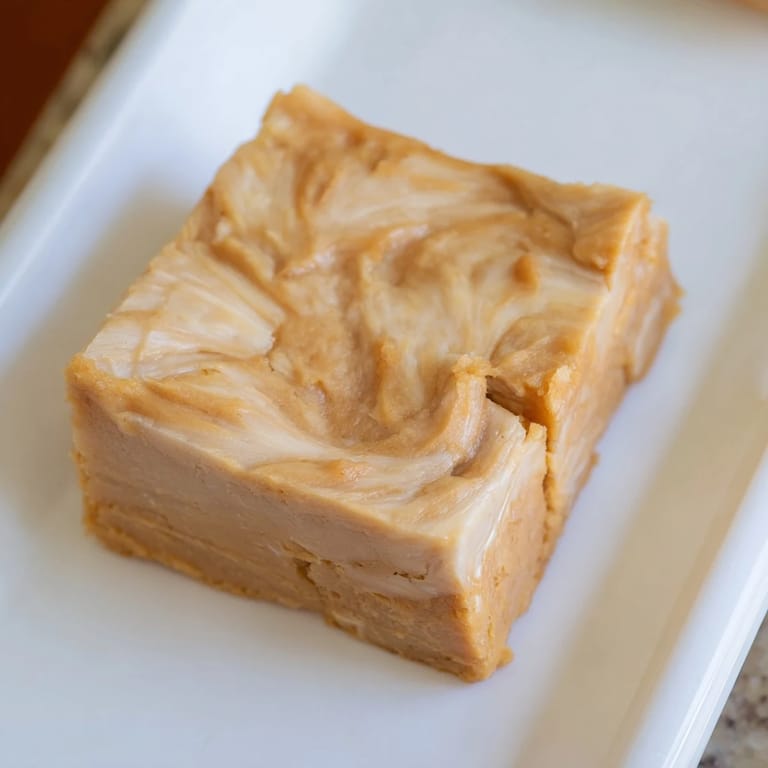
- Serve it at room temperature if you want maximum chewiness, or chilled if you prefer a denser, almost fudgy texture.
- A little pinch of fleur de sel on top right before serving brings out the peanut butter in unexpected ways.
- Leftovers keep beautifully for five days, so don't hesitate to make this a day or two before you need it.
 Save
Save This cake has a way of surprising people—they expect something fancy or complicated, and instead get something honest and deeply satisfying. That's the kind of dessert I reach for over and over.
Recipe FAQs
- → What type of flour is used for this cake?
Sweet rice flour, also known as mochiko, is used to give the cake its signature chewy texture.
- → Can I substitute the coconut milk?
Yes, evaporated milk can be used as a lighter alternative without compromising moisture.
- → Is it necessary to use creamy peanut butter?
Creamy peanut butter blends smoothly into the batter, ensuring consistent texture and flavor throughout.
- → How do I know when the cake is done baking?
The top should turn golden brown and a toothpick inserted in the center should come out clean.
- → Any tips to add texture to the cake?
Sprinkle roasted peanuts on top before baking for a delicious nutty crunch.